Guides
Linocut Reduction Prints, Step by Step: Many Colors from a Single Block
Linocut reduction print step by step: carve one block down through each color, register without a press, and know when a pass is dry enough to overprint.
What to take away
- A reduction print pulls every color from one block, carved down between passes. Set the edition size first.
- Print the whole edition at every stage. Lose ten sheets in pass two and you finish with ten fewer.
- Register against a paper jig, not press hardware. Community studios teach the jig because it is nearly free.
- Work light to dark. The final pass is the least forgiving.
What you need before starting
Count your passes before you buy anything. Three to five colors is a realistic first block, because six colors means six separate chances to misregister.
The basics are one block, a registration method, and paper for the entire edition plus spoilage. Water-based relief ink suits a first attempt: it cleans with soap and water and stays open long enough to hand-pull a run.
Blocks arrive mounted on plywood or bare. Bare linoleum costs less and carves the same, though it can bow after repeated rolling, so store it flat under weight. Gouges, a bench hook or non-slip mat, a brayer, and a barren or spoon cover everything else. If you are still assembling tools, the beginner printing press explains which blankets and packing tools matter before you spend on hardware.
The sequence
Print the entire edition at every stage. A reduction block has no second run.
- Fix the color order and write it down, lightest first. Note the ink for each pass.
- Print pass one in the lightest color across the whole block. Carve only what must stay bare paper.
- Dry the sheets flat, and stack nothing until the ink has closed.
- Carve away every area that must keep the color you just printed. What you cut now is gone.
- Roll the next color and print on top of the dried pass, registering each sheet the same way.
- Repeat carving, printing and drying until the darkest pass is down.
- Dry the finished stack fully, then sign, title and number.
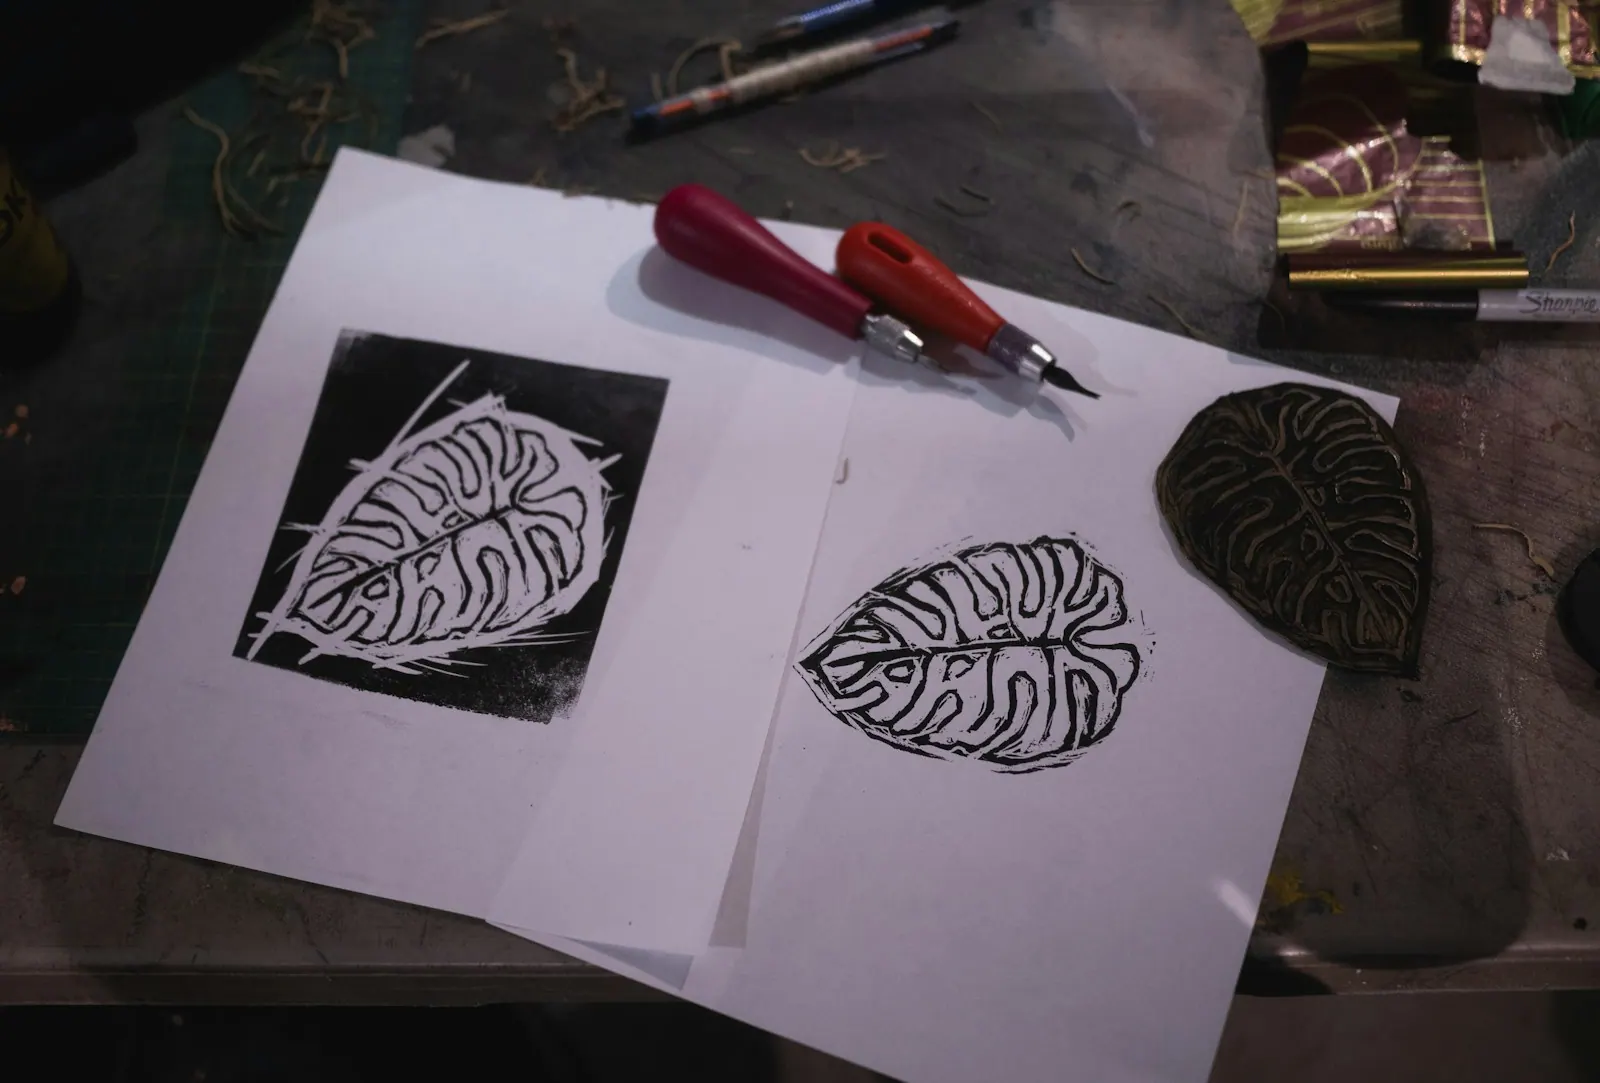
Registration without a press is a jig. Tape scrap paper to the table, lay the block in one corner, and mark the sheet edges with tape stops. Drop every sheet into that same corner. A pin-and-tab setup adds precision but costs more. Linocut works like every relief method: ink sits on the uncarved surface, and each cut removes a layer you cannot get back. Linocut
Where judgement replaces the recipe
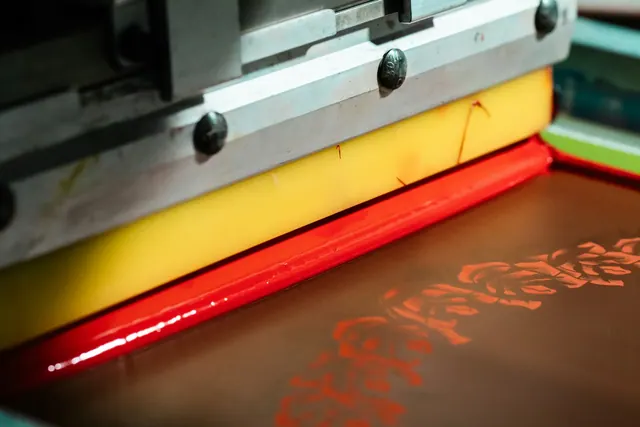
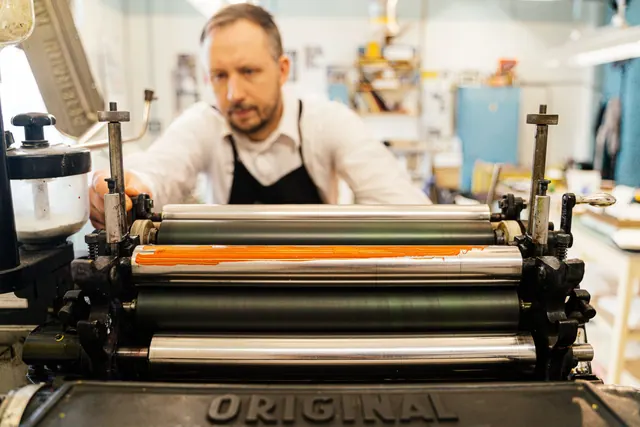
Ink quantity has no number attached to it. Roll until the brayer starts to hiss and the film looks like orange peel rather than paint. Too thin and the color flattens to grey. Too thick and the fine cut lines fill and vanish. Water-based and oil-based inks sit and dry differently under the roller, so learn one before switching. Printing ink
Drying time follows your room, not the label. A humid Austin summer can leave a pass tacky for two days; a dry Portland studio often closes overnight. Rotate stock and keep rejected sheets away from clean paper, since one contaminated sheet can mark a whole stack. The rejected and contaminated printmaking materials guide sets out the routine for that.
How to tell it is right
Three checks, all free. Run them before every pass.
- Hold the sheet against a window. The new carved edge should land inside the earlier color where you planned it.
- Touch the inked block with a clean finger. It should feel tacky and pull a faint thread, not slide.
- Press a thumbnail into the ink at the sheet margin. A crease means dry; a smear means wait.
If all three pass and the print still looks wrong, the fault is in the drawing rather than the printing.
Fixing it when it is not
Misregistration is the failure that ruins a run. The recovery is wet re-registration: lift the sheet while the ink is still open, reset it against the tape stops, and pull the pass again. Wet ink takes the second layer and the offset sinks into the print. Wait until the ink skins over and you get a visible ghost instead.
Over-inking has a simpler fix. Blot the block with newsprint, roll once more, and print. A slipped gouge needs a different answer, because you cannot restore what you cut away. Deepen it, widen it, and give it a role in the design. When the same fault returns across a session, the setup is usually the cause, which is the argument in why printmaking mistakes keep happening.
Save scrap blocks for testing cuts, so faults surface while a fix is still cheap. A loose bench hook or a dull gouge will show up on scrap long before it ruins a paid sheet.
Common questions
How many colors can one block take? Three to five is comfortable. Each pass adds a registration risk, and the block softens every time you cut it. Six colors is where first editions usually fall apart.
Can I print a reduction without a press? Yes. A spoon, a barren or a hard roller over the back of the sheet works fine. Most community studios teach it to beginners this way, with a jig instead of hardware.
Do I need to dry between every pass? Yes. Wet-on-wet printing lifts the earlier color and muddies both layers. Overnight is the usual minimum, and longer in humid weather.
What if the block is nearly worn out? Then the edition is closed. Number the good sheets and study the costliest printmaking mistakes before you cut the next block.