Features
Part of Why do printmaking mistakes keep happening, and how do you find the cause?
Six studio projects for printmaking mistakes and filing
Six bench projects that turn printmaking mistakes into filed studio references. Five are printmaking, one is alternative photography. File by format first.
What to take away
- Build the project around the fault, not around an image. The image is scaffolding.
- Each project ends with a filed reference sheet for that printmaking mistake, plus one written sentence explaining the cause.
- File by format and medium, not by date. That is how you will search later.
- Corrections are a record, not an admission. Keep them formally and they compound.
Six projects, six faults
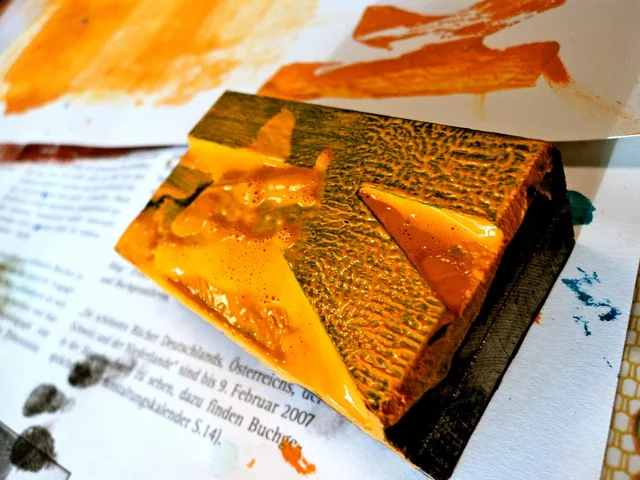
- Fill-in.Print one detailed block at six ink film thicknesses on one paper. Keep the two sheets either side of the point where the fine lines closed.
- Ghosting.Print, then reprint immediately without cleaning, five times. The sequence shows exactly how ink builds in the low areas of a block.
- Mis-registration.Print a two-color image with three registration methods, then deliberately offset one by a known amount. Measure the visible threshold.
- Cockling.Print the same block on a dry sheet, a lightly misted sheet and a fully dampened sheet, then dry all three unweighted.
- Offsetting.Stack fresh prints at intervals of ten minutes, thirty minutes and two hours, and record where the transfer stops.
- Overexposure on a contact print (alternative photography).Expose one contact print well beyond the correct time and keep it as the reference for what overexposure looks like.
Each project takes one session. Number the sheets as they come off the bench.
Six fault projects
- Fill-insix ink film thicknesses, one block
- Ghostingreprint five times without cleaning
- Mis-registrationthree methods, one offset
- Cocklingdry, misted, dampened sheets
- Offsettingstack at 10, 30, 120 minutes
- Bronzingoverexpose one contact print
Filing so you can find it
Sort the results by format first, then by fault, as public collections do. The National Archives organizes access to its holdings by media format, separating textual, microfilm, cartographic and other material because format decides storage and retrieval. In a print studio, that means a folder for linocut faults sits apart from a folder for screen faults, and a cyanotype reference goes in the photographic-process folder.
A fault archive needs that same format-first logic. Label each sheet with the process (linocut, screen, cyanotype, monoprint), the fault name, and the date. Learn how to photograph and present printmaking mistakes before you file another sheet.
Four studio fault drawers
Drawer
- Relief on paper
- Fill-in, ghosting, mis-registration
- Coated photographic prints
- Bronzing, overexposure
- Screen prints on paper
- Fill-in, mis-registration
- Anything on fabric
- Offsetting, cockling
Faults filed
- Relief on paper
- Coated photographic prints
- Screen prints on paper
- Anything on fabric
Write the correction down
Each project ends with one sentence: what the fault was, what caused it, and what you changed. For example, on the fill-in sheet: "Fine lines closed at the heavier film setting; caused by over-inking the block; corrected by reducing roller passes." Then, when the same fault appears in real work, you are reading a record rather than reasoning from scratch.
Formal record systems build in a route for this. The Copyright Office maintains supplementary registration to correct an error or amplify the information in an existing registration, not to expect a perfect first record.
For a studio notebook, a correction should attach to the original entry, not replace it. You want to see what you believed before.
| Project | Reference produced | Reread when |
|---|---|---|
| Fill-in | Ink film ladder | Detail closes unexpectedly |
| Ghosting | Build-up sequence | Second color looks muddy |
| Mis-registration | Offset threshold strip | Registration feels close enough |
| Cockling | Three-moisture set | Paper will not lie flat |
| Offsetting | Timed stack test | Prints mark each other |
| Bronzing | Overexposure reference | A contact print goes flat |
Running them in sequence
Do one project a month rather than all six in a weekend. The reference is more useful when it is built from real sessions with real materials.
Our taxonomy of print faults supplies the names, and our deliberate failure weekend is the compressed version if you would rather build the whole set at once.