Guides
Part of 4 points worth checking on home printmaking projects
Documenting a home printmaking project from first cut to finish
Building a project record that other people can follow: process sequences, in-progress frames, a project page structure and the notice to put on published images.
What to take away
- Shoot the process as a sequence, from the same position, at the same settings. A sequence explains what a single photograph cannot.
- Photograph the block, the plate or the negative as well as the print. They are half the story.
- Put a proper notice on published images. The statute sets out exactly what a notice contains.
- Keep fixity information for your filesa checksum and a record of what you did to them.
Shoot a sequence, not highlights
Set the camera once on a tripod, mark the tripod position on the floor, and photograph the same frame at each stage: drawing, cut block, first proof, corrected block, inked block, final print. Do not move the camera and do not change exposure between frames.
The result reads as a process. A folder of attractive but unrelated shots does not, and it cannot be used to explain a decision to anyone, including yourself in a year.
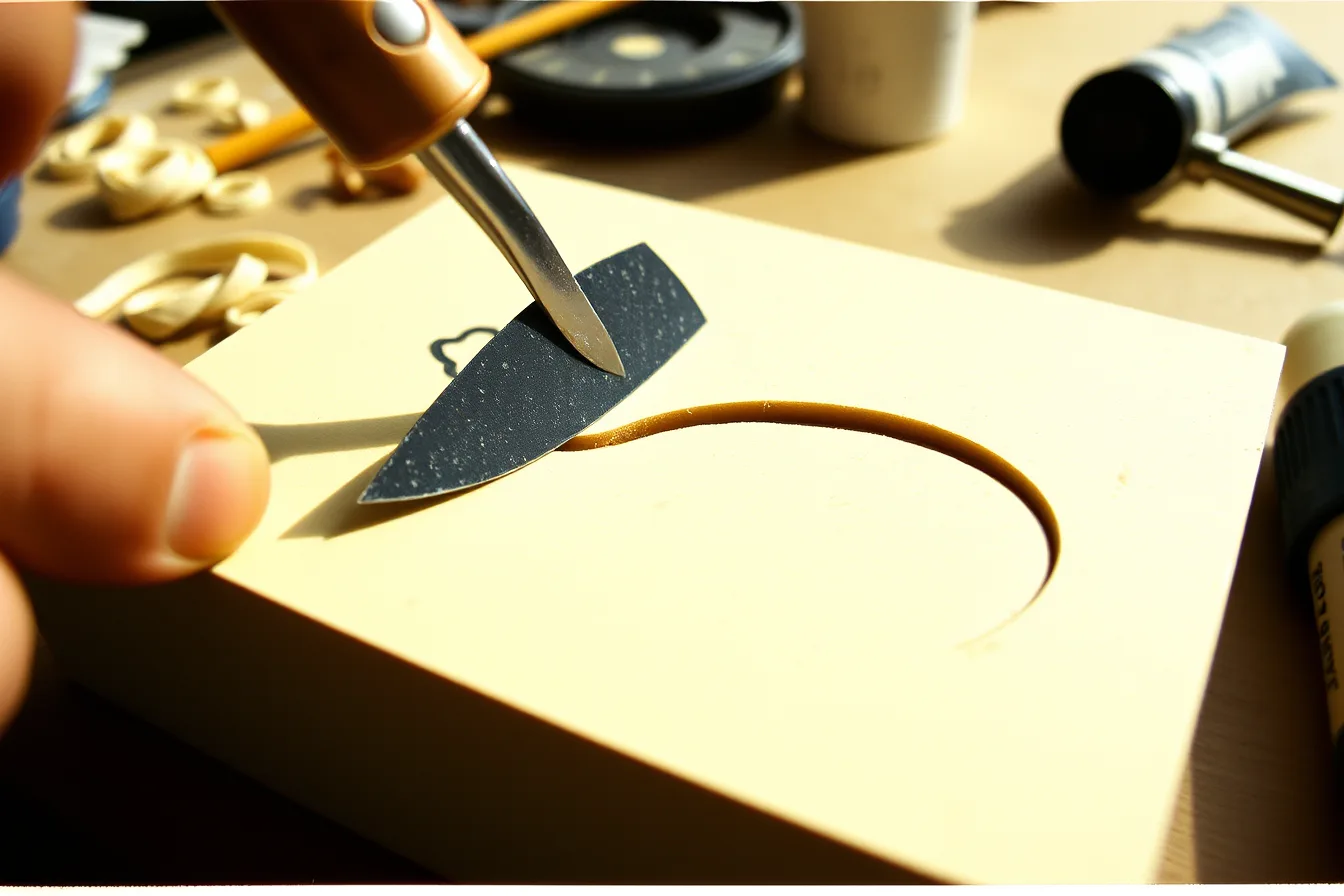
Add two frames per stage that a viewer will want: the tool in the hand doing the work, and a close crop of the area that changed. Shoot both immediately, while the stage is still set up. Going back to recreate a step produces a photograph of a reconstruction, and it always looks like one.
Photograph the matrix too
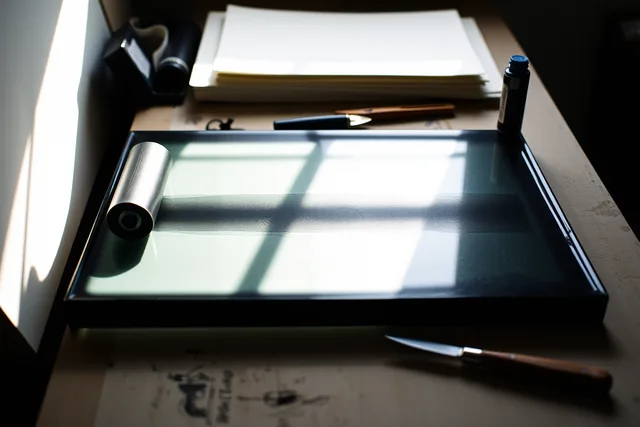
The block, plate or negative is the object that carries all the decisions. Photograph it clean, flat, and lit from the side so the cuts read, and again inked so the surface reads.
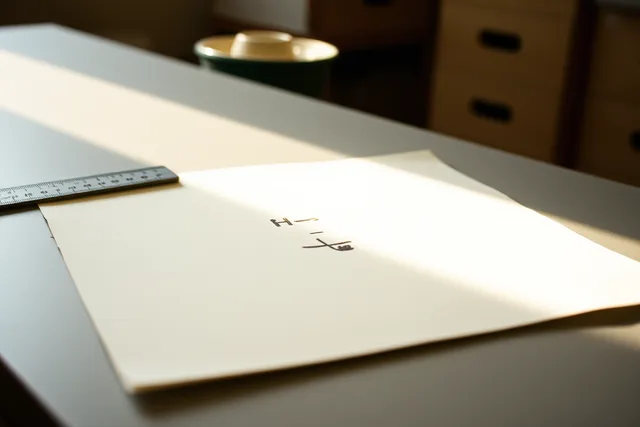
For photographic processes, photograph the negative on a lightbox with a ruler in frame. Negatives get lost, damaged or reprinted, and a dimensioned record is worth having.
The project page structure that works
- One finished image, large.
- A three-line statement of what the project was.
- The process sequence, in order.
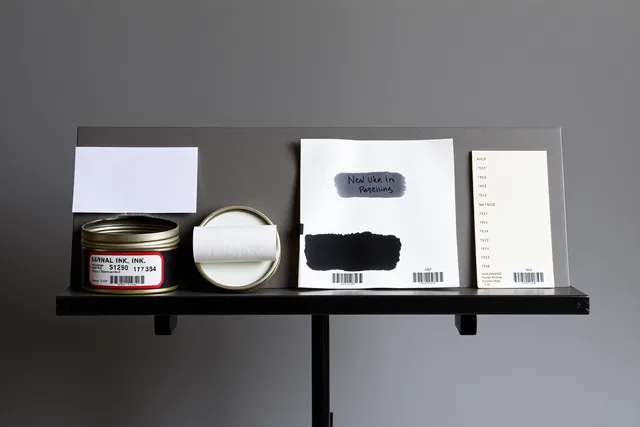
- The specificationprocess, paper, ink, block size, edition, dates.
- What went wrong and what you changed.
- The source of the image, stated.
That last item takes one line and prevents most awkward questions.
Notice, and what it actually contains
If you publish, a copyright notice is worth putting on the image page. The statute setting out notice of copyright for visually perceptible copies describes a notice as three elements: the symbol, the word Copyright or the abbreviation, together with the year of first publication and the name of the copyright owner.
Notice is not required for protection under current law, but it is cheap, it identifies you, and it removes the excuse that somebody did not know who made the work.
Keeping the files honest
Digital records rot quietly. The National Archives sets out guiding assumptions for its digital preservation program, including that all files must have recorded fixities to support auditing and that actions taken on files must be recorded and tracked.
A studio version is two habits: generate a checksum for each master file when you create it, and keep a plain text log of what you did to any derivative. Both take seconds and both make a ten-year-old archive trustworthy.
Our guide to documenting print faults covers the lighting setups for the difficult frames, and our account of what documented projects reveal explains which records repay the effort.
Shoot the finished print last, not first. Photographing the result before the sequence is complete tends to produce a page built around one image, which is the format that teaches other printers the least.