Guides
How to Screen Print at Home with a Vinyl Stencil
Vinyl stencil screen printing at home needs one screen, a sheet of Oracal and careful burnishing. Here is the step order, the edge test and the fix when ink creeps.
What to take away
- The vinyl goes on the underside of the mesh, the side that faces the paper.
- Cutting is positive, so ink lands where you removed vinyl.
- Burnishing decides whether the stencil survives the first pull.
- Too much ink causes most blurred edges.
- Peel the vinyl while the ink is still wet.
A vinyl stencil turns a bare screen into a working printing plate in about twenty minutes, with no emulsion, no darkroom and no exposure unit. The trade is durability and detail. A stencil cut by hand holds lines of roughly 1/16 inch and survives a short run. The method behind it appears in the general account of screen printing, though the home version swaps the photographic stencil for adhesive film.
Supplies that carry the whole job
Speedball's 10 x 14 inch screen fits US letter artwork with room for tape, and it costs about $15 to $25 at a US craft store. A 12 x 12 inch sheet of Oracal 651 runs under $3.
You also need transfer tape, a squeegee, water-based ink and a roll of packing tape. Vinyl left in a hot car or a cold garage will not stick, a point covered in the guide to rejected and contaminated materials.
- 110 mesh screen, 10 x 14 inch
- Oracal 651 or clear contact paper
- Transfer tape, 6 inch wide
- Squeegee, 70 durometer for fabric
- Water-based ink, masking tape, craft knife and cutting mat
The sequence, step by step
The order matters more than the speed, and each step assumes the one before it is finished. A stencil is any material that blocks ink from part of a surface, as the entry on stenciling techniques sets out.
- Wash the mesh with dish soap and warm water, rinse it and let it dry completely.
- Cut the shape you want to print out of the vinyl, working on a cutting mat.
- Weed the cut shape away and set it aside. The sheet with the hole is your stencil.
- Lay the sheet adhesive side up, cover it with transfer tape and burnish the tape flat.
- Peel the paper backing off at a low angle so the vinyl stays on the tape.
- Press the vinyl onto the underside of the screen, the side that faces the paper.
- Burnish through the mesh from the center outward with a fingernail or a bone folder.
- Peel the transfer tape back at a shallow angle, and re-press any corner that lifts.
- Tape the open mesh around the design with packing tape, on the underside.
- Tape the paper down, set the screen, run a bead of ink across the top, flood once and pull once.
Where judgement replaces the recipe
Two things resist a written number, and they are how hard you burnish and how much ink you leave. Home printers repeat the same errors, and printmaking mistakes worth avoiding reads as a checklist of them.
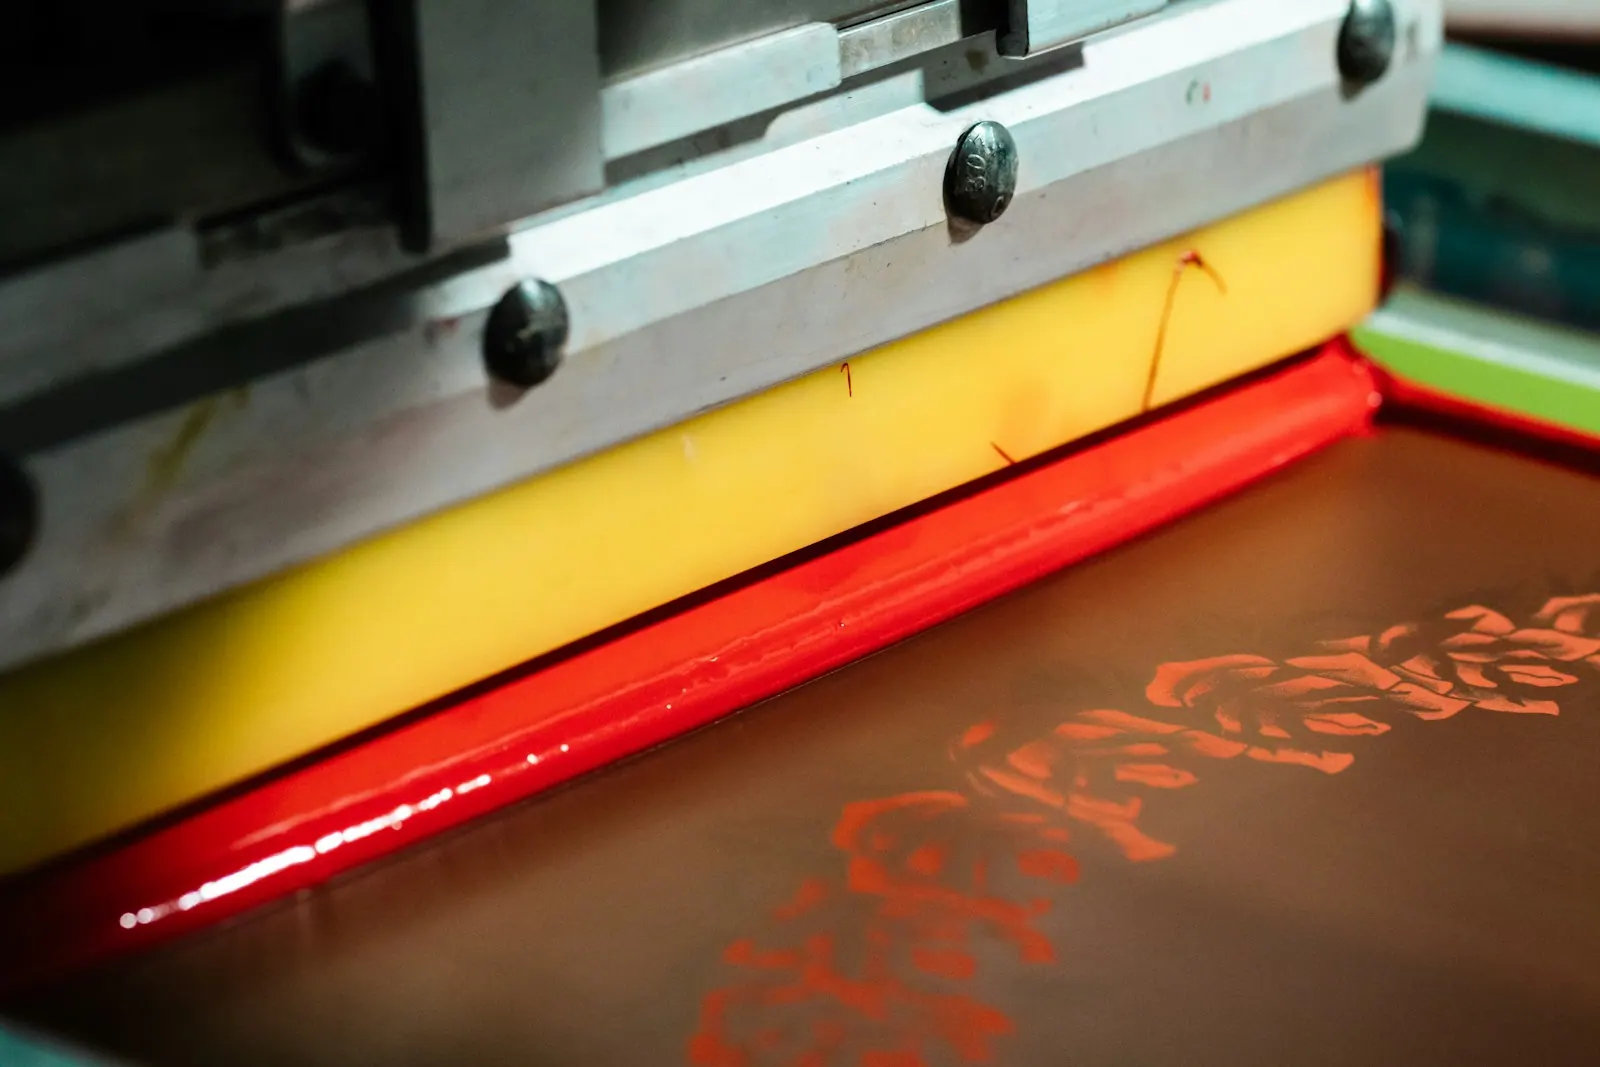
Burnishing is not a gentle press. Work the vinyl down until the mesh weave shows through it under a lamp. Ink volume is the other half. A bead the width of a pencil is plenty for a 6 inch design. More ink does not darken the print; it pushes under the vinyl edge and blurs it. Water-based inks on absorbent paper behave as described under printing ink, and the same squeeze-out rules apply here.
Example: a two color run from one screen
Say you want 12 tote bags printed in black and orange. Print all 12 in black with the first stencil. Let them dry for 24 hours, then wash the screen with warm water and peel the black vinyl off. Cut a second stencil for the orange shape and align it with two marks you taped to the board. Run the same 12 bags again. The second color lands in register because the bags never moved.
How to tell the print is right
Press a thumbnail against the vinyl edge inside the design; the film should not slide at all. Hold a wet print at eye level under a lamp; the ink should look evenly dark, with no pale blotches. Look at a printed edge: if ink has crept past the vinyl by more than roughly 1/32 inch, you flooded the screen.
A stable setup makes these checks repeatable, and the advice on fitting out a printmaking workspace covers the board and tape that stop a screen from shifting.
If the vinyl edge softens by the fifth pull, stop and re-burnish. The ink is not the problem.
Fixing a creeping edge
The named recovery is the edge-tape reset. Lift the screen, wipe the underside dry with a rag, and warm the lifted edge with a hair dryer on low for about twenty seconds. Press it flat, then lay a strip of packing tape flush against the inside of the design so it overlaps the vinyl by 1/8 inch. Reload with half the ink and pull once. If edges keep failing, the fault is usually in the setup rather than the stencil, and why printmaking mistakes keep happening traces that back to preparation.
| Symptom | Likely cause | Fix |
|---|---|---|
| Blurred edge | Too much ink | Halve the bead and pull once |
| Patchy print | Too little ink | Flood again and add pressure |
| Vinyl lifts during the run | Weak burnishing | Edge-tape reset |
Common questions
Do I need a cutting machine? No. A craft knife and a steady hand will do. A Cricut cuts cleaner curves and repeats a shape faster, and Oracal 651 sits in its materials library.
How many prints will one stencil last? On paper, expect somewhere between 20 and 40 pulls as an illustrative range. Rough fabric wears the edge faster.
Does this work on fabric? Yes, with fabric ink rather than paper ink. Let the print dry overnight, then heat set it with an iron.
Can I reuse the screen? Yes. Peel the vinyl while the ink is wet, wash the mesh with warm water and dry it. The frame outlasts many stencils.